- 1. Size: match the panel to what you want to cover
- 2. Wavelengths: 660 and 850 nm, then extras
- 3. Irradiance: look for the distance, and a lab figure
- 4. EMF and flicker: ask for figures
- 5. Controls: what you will actually use
- 6. Warranty, returns and who you buy from
- 7. Red flags, and a quick checklist
- One more thing: distance changes everything
- Questions people ask
1. Size: match the panel to what you want to cover
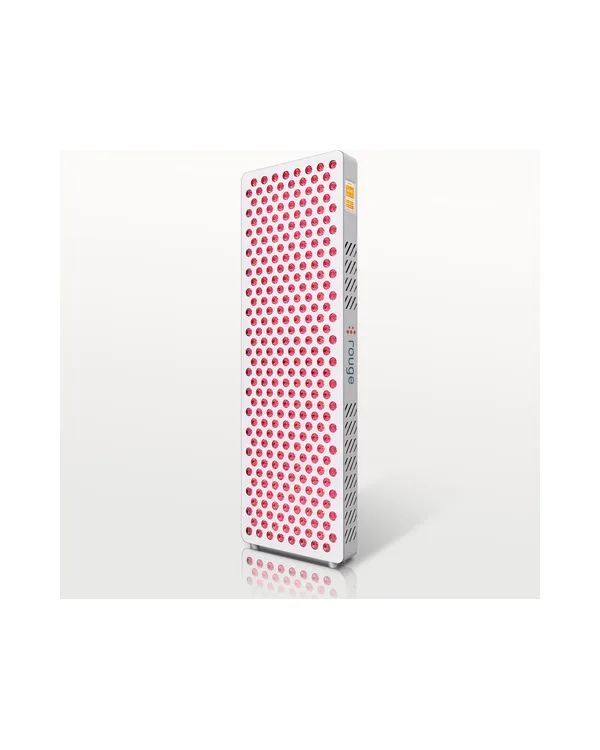
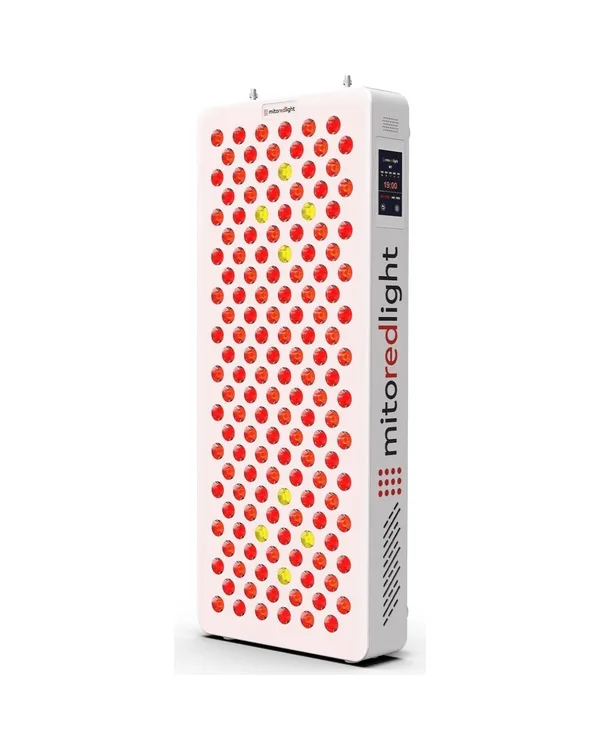
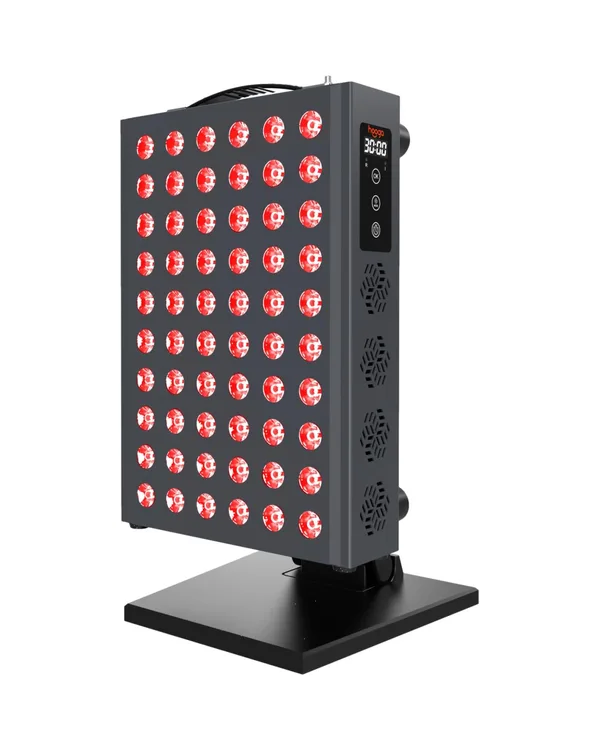
Start here, because it decides your budget. A panel of about 100 square inches (12 × 8 in, like the Hooga HG300) covers a face, a knee or a shoulder. Around 170 to 230 square inches (19 to 23 in long, like the MitoMID 2.0 or MitoPRO 750X) covers your upper or lower body. A 3-ft panel covers your front or back from a step away. To light you head to toe up close, you need a 5 to 6-ft panel like the Hooga PRO4500, or two panels.
A warning on words: brands use "full body" for very different sizes. Check the inches, not the label.
2. Wavelengths: 660 and 850 nm, then extras
Nearly every panel uses 660 nm (red) and 850 nm (near-infrared), the pair most studies use. Some add more: 590, 630 and 670 nm on the red side, 810, 830, 940 and 1060 nm on the near-infrared side. The Rouge Pro G4 and MitoADAPT MAX 4.0 list eight. More wavelengths give you flexibility; they aren't a guaranteed better result. What does matter: both red and near-infrared, and ideally a way to run them separately. Our wavelength guide goes deeper.
3. Irradiance: look for the distance, and a lab figure
Irradiance (mW/cm²) is how much light reaches your skin. It's also the most abused number in this market. Three questions to ask:
- At what distance? A figure without a distance can't be compared. Joovv ("over 100 mW/cm²") and Bon Charge ("over 142" and "over 162") don't give one on their pages.
- Measured how? Cheap solar meters read far higher than lab spectroradiometers on red and near-infrared light. Mito Red Light publishes both: over 160 mW/cm² on a consumer meter and over 70 in lab testing for the MitoPRO 750X at 6 inches. Rouge does the same: 164 and 90 at 6 inches for the Pro G4.
- Is there a report? PlatinumLED links lab charts for every BioMax size; Rouge links an integrating sphere report.
A bigger number isn't automatically better. A brand that shows you how it measured is worth more than one with a bigger figure and no method. That's why our formula scores disclosure, not the size of the number.
4. EMF and flicker: ask for figures
You'll sit a few inches from the panel, so it's reasonable to want EMF and flicker data. The best pages give a figure with a distance: Hooga lists 0.0 μT at 6 inches for its panels, PlatinumLED 0.0 μT at 4 inches for the BioMax, Mito Red Light 0.5 to 1 mG at close range for the MitoMID 2.0. Others give a claim without a figure ("no detectable EMF", "Zero EMF") or nothing at all. For flicker, look for "flicker-free" stated plainly: Mito Red Light, Rouge and Hooga's PRO series do.
5. Controls: what you will actually use
At minimum, you want a timer. Useful extras: separate red and near-infrared modes (most panels on our list; Hooga lists no separate switch on the HG300), an app to log sessions (Mito Red Light, Joovv, Rouge, Kala), linking for multi-panel setups, and pulsing if you're curious about it. PlatinumLED argues pulsing has no proven benefit on LED panels; Rouge and Joovv offer it. If you like simple, a timer and a red/NIR switch are all you need.
6. Warranty, returns and who you buy from
A panel is a box of LEDs, drivers and fans that you'll run several times a week. Three years of warranty is the best on our list (Hooga, Rouge, PlatinumLED, Mito Red Light's X and ADAPT ranges); two years is fine (Joovv, Kala, MitoMID 2.0); one year (Bon Charge) is short. For returns, 60 days gives you time to see whether the habit sticks. Check who pays return shipping: at PlatinumLED, you do.
7. Red flags, and a quick checklist
Close the tab if you see: an irradiance figure with no distance and no method, "FDA approved" with no clearance number (see our FDA guide), no warranty term, a countdown timer on the page, or claims that the panel treats a disease.
Quick checklist before you click buy:
- Size in inches fits the area I want to cover.
- Both red and near-infrared, ideally with separate modes.
- Irradiance with a distance, ideally a lab figure.
- EMF figure with a distance; "flicker-free" stated.
- At least 2 years of warranty and 30 to 60 days to return it.
- Price per square inch in line with similar panels.
- Stand or mount: included, or priced in.
Our ranking applies exactly this checklist, with weights, to fourteen panels. Our top pick, the Rouge Pro G4, ticks every box except a published EMF figure.
This guide is for buying decisions, not medical advice. If you are pregnant, have a skin or eye condition, or take medication that makes you sensitive to light, talk to your doctor before you start.
One more thing: distance changes everything
Every output figure on a product page belongs to one distance, usually 6 inches. Step back and the light spreads over more of you but each square inch gets less. Kala shows this honestly on the Elite Panel 2.0 page: 185 mW/cm² at 6 inches, 120 at 12 inches, per Kala. Hooga gives the other side of the trade for the PRO4500: an 82 × 37 inch treatment area at 6 inches, per Hooga.
So when a brand calls a 3-ft panel "full body", it usually means you stand further back. That's fine, as long as you know it. Follow the distance and session time in the brand's own guide, compare panels at the same distance, and be wary of any figure that comes without one.
The panels in this guide, side by side
| Panel | Rouge Pro G49.6/10 | MitoPRO 750X9.5/10 | Hooga PRO3009.2/10 |
|---|---|---|---|
| Price | $1,046 | $749 | $299 |
| Panel size | 11.81 × 36.22 in | 10 × 23 in | 8.6 × 12.7 in |
| Price per sq in | $2.45/sq in | $3.26/sq in | $2.74/sq in |
| Wavelengths | 8 wavelengths, 630–1060 nm | 6 wavelengths, 590–850 nm | 660 + 850 nm |
| Irradiance (brand claim) | 164 mW/cm² at 6 in | 160 mW/cm² at 6 in | 109 mW/cm² at 6 in |
| EMF | Not stated | Claim, no figure | 0.0 μT at 6 in |
| Warranty | 3-year | 3-year | 3-year |
| Returns | 60 days | 60 days | 60 days |
| Buy | See price | See price | See price |